The making of art prints
In the beginning, I was so reluctant to make art prints. I didn’t even know how to begin other than taking pictures of the artwork! But after creating my own originals of wildlife, I had more of a drive to figure it out.


It took me a long time to get the right lighting to make good printable images. I learned to use Lightroom (photo editing software) and Canva (marketing/photo editing software) to get the image to look as close to the original as possible while also removing the background.

Once I straightened that out, I had to still figure out how to crop the images to the exact size I needed for the prints. This required knowing the paper size and cropping the images within a square so I had guidelines when I cut them. This was the hardest part for me because my printer has weird print sizes and I also wanted to purchase large pieces of paper to save on time and money.
Now to the even harder part, finding reasonably priced paper!
I spent more money on printer paper than anything else. I needed to know what was going to look good, which required buying and testing.

I started with epson fine art paper, that was a dud. It was too expensive and the prints weren’t saturated enough. Then I went to epson presentation paper, I liked the saturation so I used this for the longest time. Within the past few weeks, I had an itch to print on watercolor paper. I liked the rough texture, the off white color, and how thick it was. I wasn’t sure if my printer could handle the paper so I did a test run and they turned out gorgeous!! (Disclaimer: make sure you have a good photo printer before testing this out) So naturally, I went to amazon to see what kind of watercolor paper I could buy in their largest size for cheap. This is what I found!

I’ll admit, I’m not sure if this is cheating because it’s not printer paper but it’s been working just fine on my printer and the quality is top notch! They look like originals because of the depth from the texture.
Figuring out sizes and products
From the beginning, I wanted my prints to be “gallery quality”. This meant investing in the right equipment and materials to do so. At first, I ordered my prints from a local print shop. Their prints came out with a crisp white background and a nice glossy/saturated look. I loved it for a while but the prices began to be too expensive to keep up in bulk. Not only that but I wanted to have more control over the type of paper.
I also knew that I didn’t want to sell textiles such as napkins, hand towels, pillows, etc. I want my art to be able to be framed, even with my greeting cards! This does limit me to only art prints, cards, and bookmarks but that’s exactly how I want it. I wanted simple options so there’s no confusion.

Over the years I have introduced new options. I started out with miniature 4”x4” prints to go with 8”x10” and 11”x14” prints. I then bought picture frames for the 4”x4” so people could have the option of purchasing them with a frame online and at the markets. I needed more options for some of the miniatures that I couldn’t expand too much because they were originally drawn in a small size so I tested out 8”x8” size with a little more white space and they looked great!
I keep my sizes limited to 4”x4”, 8”x8”, 8”x10”, and 11”x14” so that there are enough options but nothing that will overwhelm the customer. I was reluctant to make greeting cards for a while strictly because I didn’t know how to make them super fast, I only thought I would have to cut each one to size and score the middle so they can fold. This was too much work when I’m making a high production. But after some research, I found precut and prescored 5x7 cards that I could order in bulk online. I tested them out and they ran great in my printer!

Eventually, I transitioned my cards to a watercolor texture just like the rest of the prints. I wanted everything to be cohesive, even down to the kraft envelopes and the kraft looking backings for the prints. One thing that I took advantage of for the greeting cards is that customers will buy them just to frame them. This is why I don’t provide a 5x7 size because I already have that, I also charge a little bit more for the cards for that exact reason, yet they are still the cheapest option.
The newest product I created is bookmarks. I saw a lot of people liked the idea so I went ahead and printed up some beautiful watercolor paper bookmarks with a brown twine tied at the top. My customers love them!!

Marketing
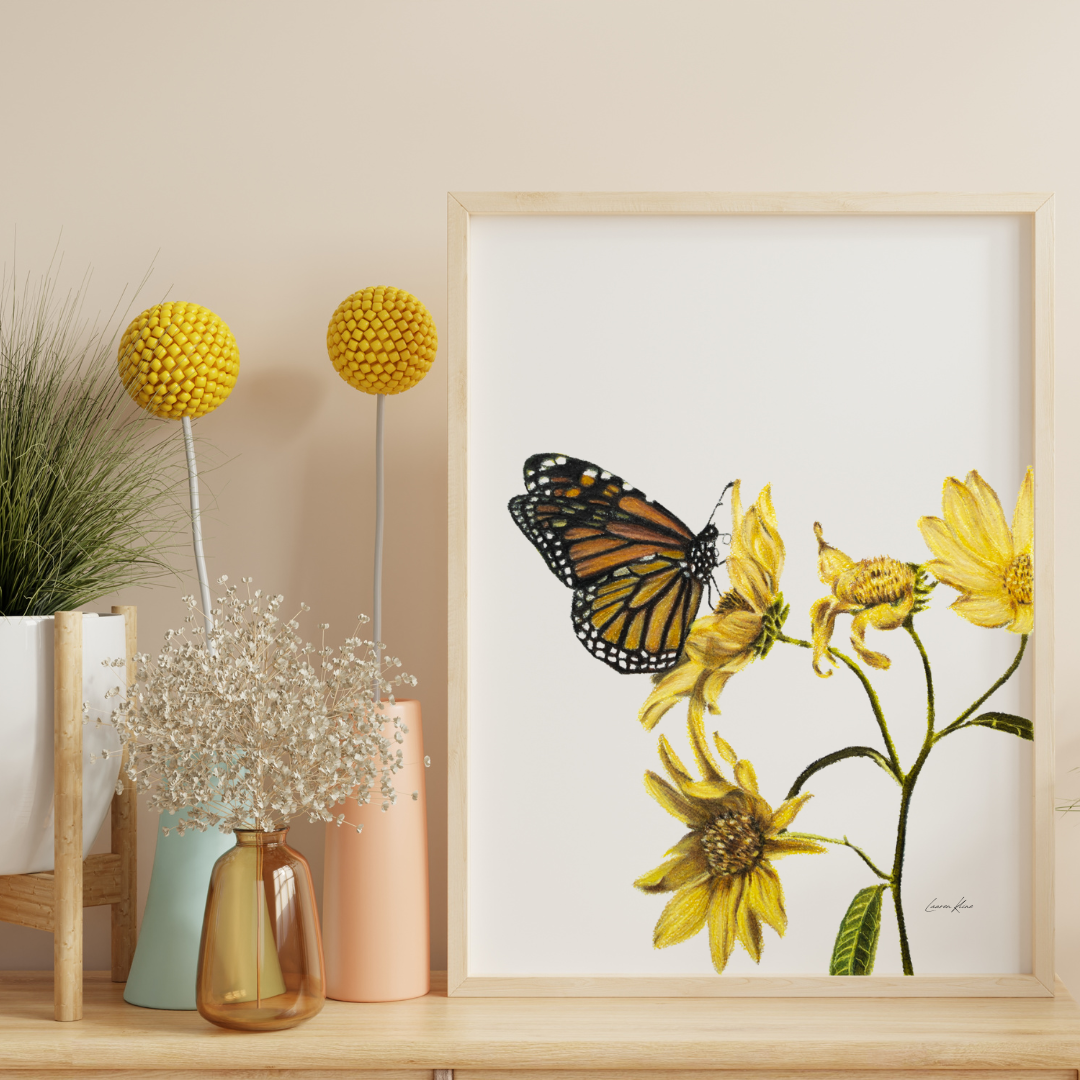

I have quite a bit of photoshop, editing, photography experience. I took advantage of this to create high quality photos to share my art on social media and to sell on my website. I don’t have a good space to take individual photos of my art and I have so many products that it was just easier to take a picture of my art and place them onto a mockup image of a frame posed in the right lighting.
I used Canva to do this because they have a lot of mockup images that I could choose from very easily. This freed up a lot of my time and provided a good variety of photos.
Here comes the hard part (since I’m an introvert). I have to sell my products!
I’m great at selling in person because I let the customer come to me. They have already made the decision to purchase something because it’s right there in front of them.
Online is a whole other animal to tackle…
I post a lot on instagram and even on youtube but I haven’t figured out a way to get more customers to buy online. It’s like pulling their teeth to make an order!
Eventually, I know this won’t be the case but in the beginning it certainly feels discouraging. It’s a waiting game from here on!